

Sculpt & Glow Signature Facial Kit (12 products)
Professional Facial Kit for Estheticians
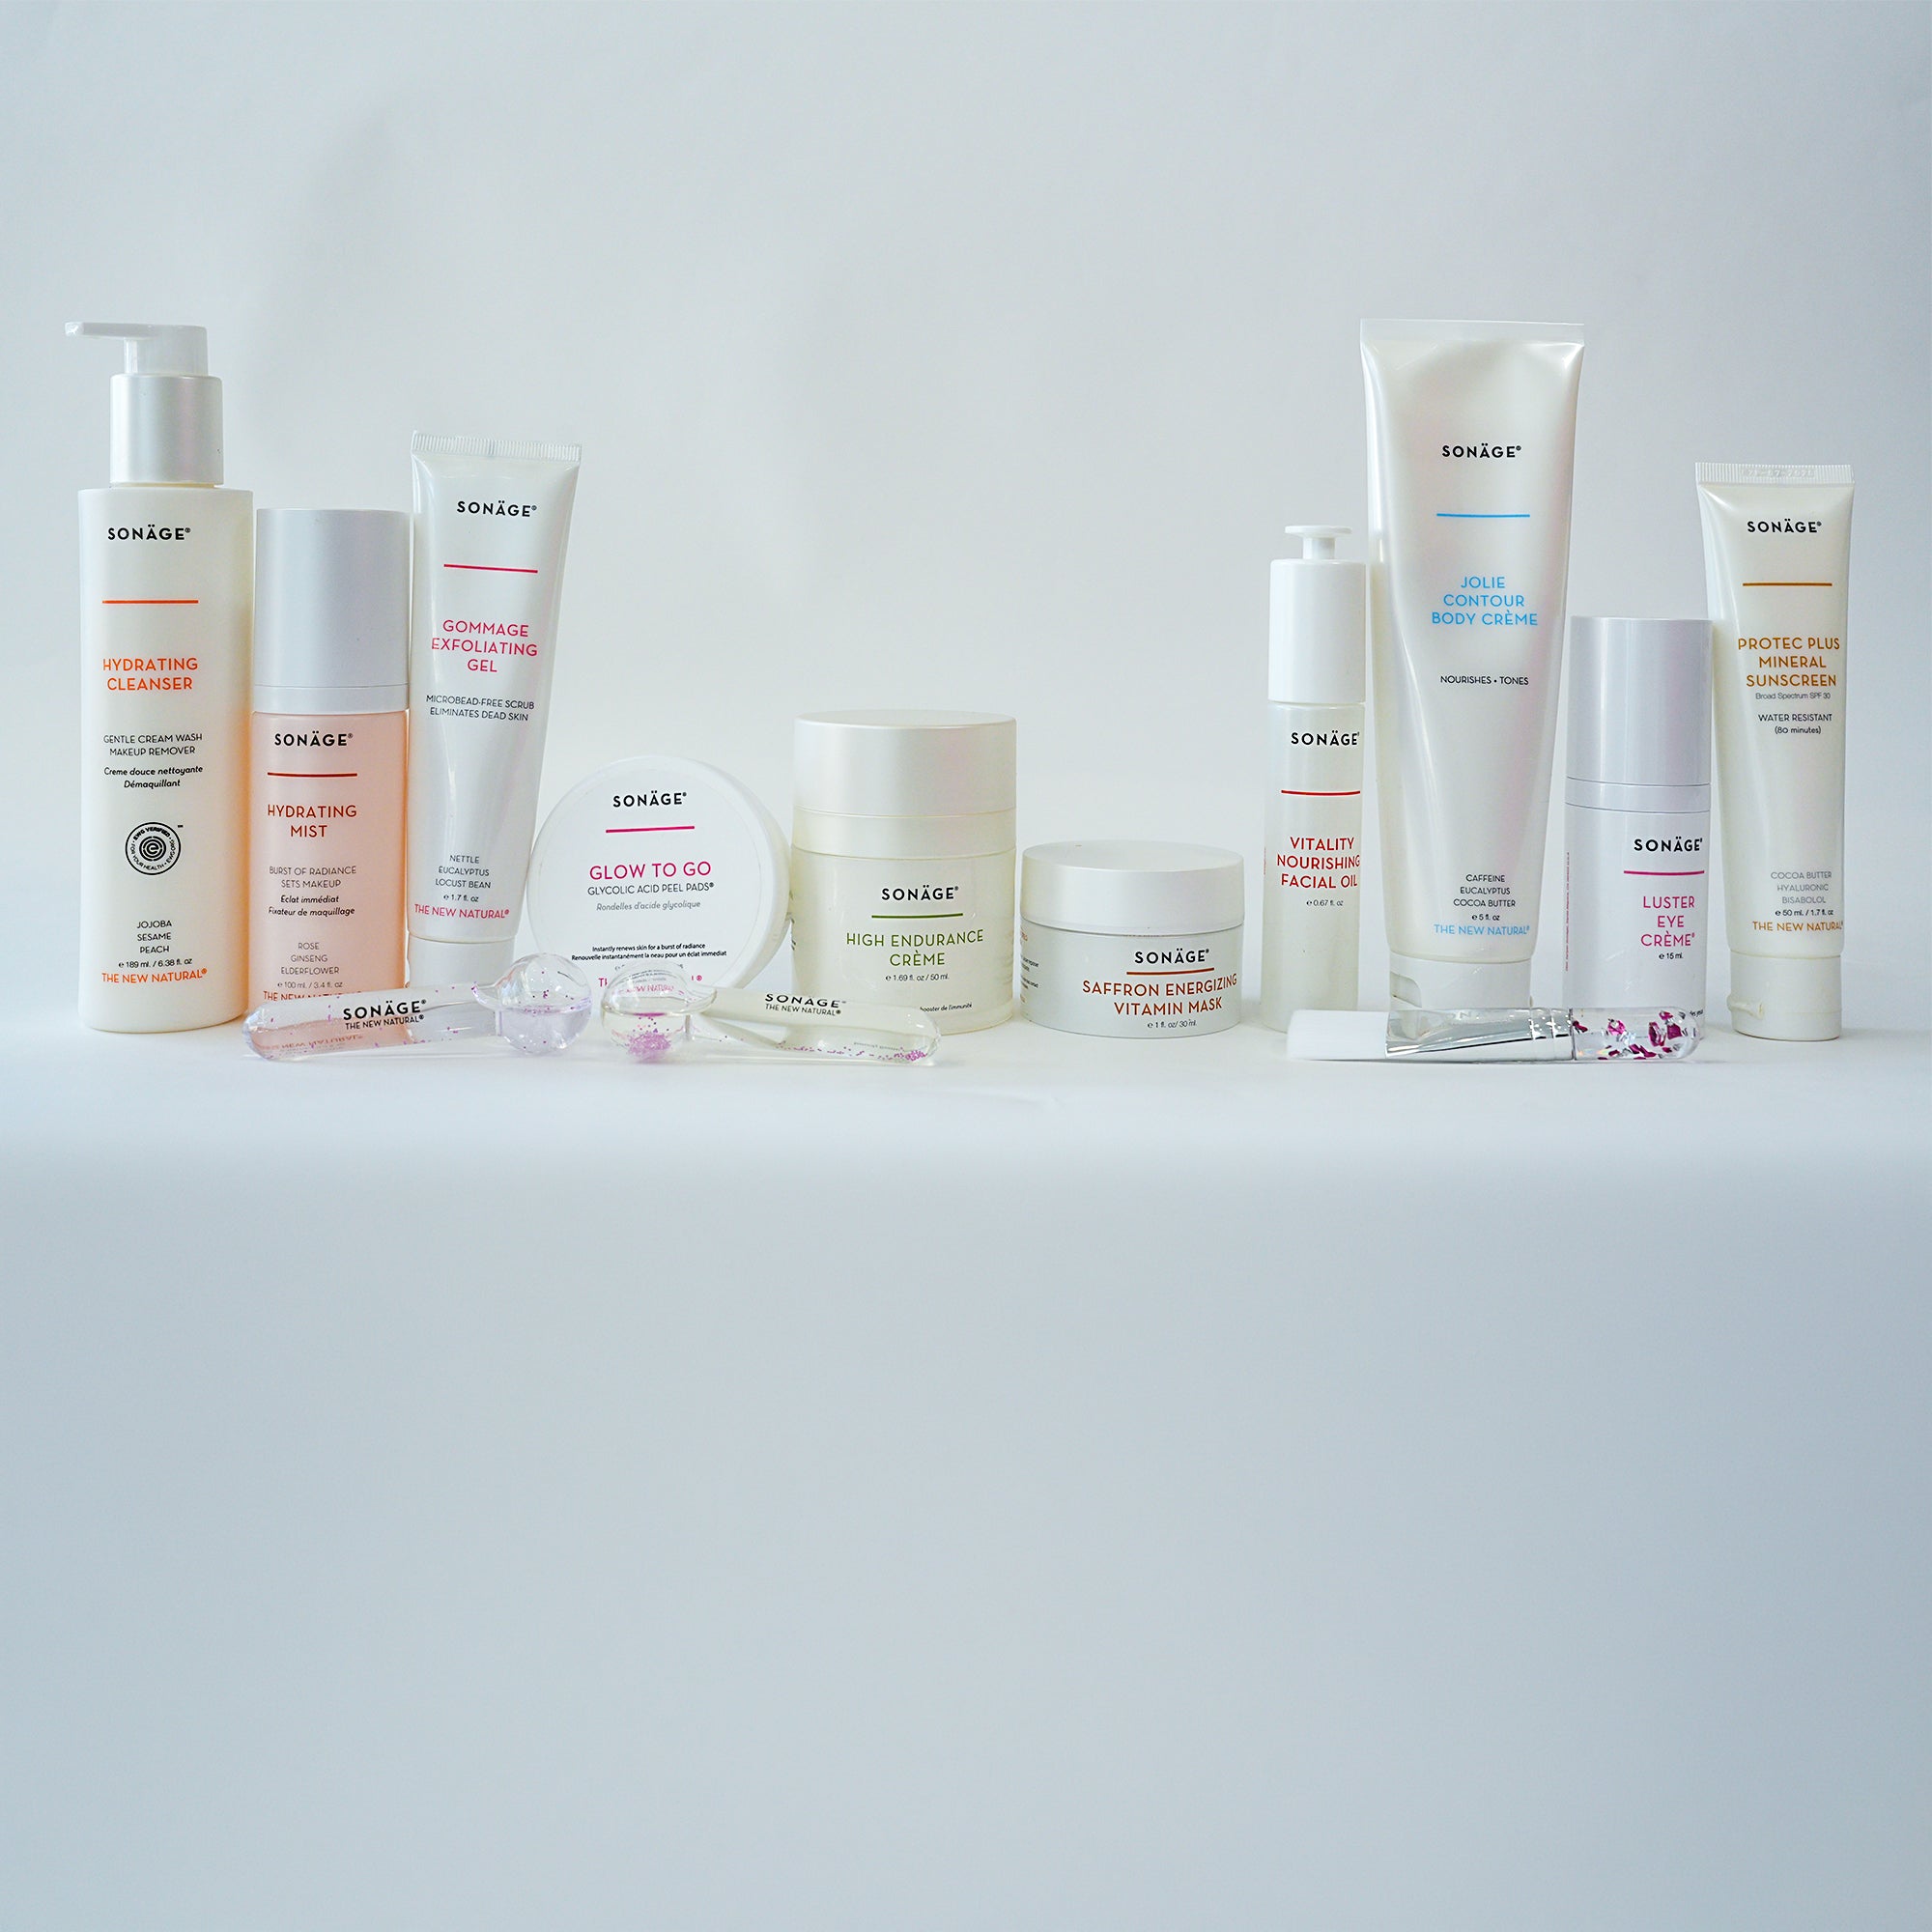
Sculpt & Glow Signature Facial Kit (12 products)
Professional Facial Kit for Estheticians
A professional facial kit is a complete set of
professional skincare products designed for licensed estheticians to perform full facial protocols. Made For Esthetician Students, New Estheticians, and Facial Studios
Sculpt & Glow Signature Facial
Professional Esthetician Protocol
Treatment Benefits:
-
Deeply cleanses without stripping
-
Smooths dull surface buildup
-
Boosts visible glow
-
Supports the moisture barrier
-
Encourages lymphatic drainage
-
Helps reduce the look of puffiness
-
Leaves skin visibly refreshed and protected
Ideal For:
Dull, dehydrated, tired-looking, congested, or stressed skin.
Suitable for most skin types. Adjust exfoliation time and pressure for sensitive or reactive skin.
Step 1: Cleanse
Product: Hydrating Cleanser
Begin with a thorough cleanse to remove makeup, sunscreen, excess oil, and daily impurities while preparing the skin for treatment.
Apply Hydrating Cleanser to damp skin using gentle circular movements. Work across the face, neck, and décolleté. Remove with warm towels or damp esthetic wipes.
🧖 Use this step to assess the skin’s texture, hydration level, sensitivity, and areas of congestion.
Step 2: Hydrate & Soften
Product: Hydrating Mist
Mist generously over the face, neck, and décolleté to replenish hydration and soften the skin before exfoliation.
Press gently into the skin with hands or cotton esthetic gauze.
🧖 Hydrating Mist helps keep the skin comfortable and receptive throughout the facial.
Step 3: Enzymatic Exfoliation
Product: Gommage Exfoliating Gel
Apply a thin, even layer of Gommage to the face, avoiding the eye area. Allow product to sit briefly based on skin sensitivity.
Using light fingertip pressure, gently massage in circular movements to lift away dull surface buildup. Remove thoroughly with warm towels.
Suggested Timing:
Sensitive skin: 1–2 min; Normal/combination skin: 3–5 mins
🧖Do not overwork the skin. The goal is a polished, smooth finish, not aggressive exfoliation.
Step 4: Radiance Boost
Product: Glow To Go Pads
Swipe one Glow To Go Pad evenly over the face, neck, and décolleté, avoiding the immediate eye area and any compromised skin. Allow the solution to absorb before continuing.
🧖 This step helps refine the appearance of texture and boost visible radiance. For sensitive clients, use fewer passes and avoid layering over areas that appear flushed.
Step 5: Nourishing Sculpting Massage
Products: High Endurance Crème + Vitality Facial Oil
Blend a small amount of High Endurance Crème with a few drops of Vitality Facial Oil in your hands. Warm the blend between palms and apply to the face, neck, and décolleté.
Use this blend as the slip for a lifting and draining facial massage. Begin at the décolleté and neck to open drainage pathways, then sweep from the center of the face outward toward the ears. Use upward movements along the jawline and cheekbones, glide from the inner brow outward across the forehead, and apply gentle pressure around the orbital bone while avoiding direct pressure on the eye area.
🧖Keep movements rhythmic, slow, and controlled. High Endurance Crème helps cushion and comfort the skin, while Vitality Facial Oil adds nourishing slip for a smooth, luxurious massage. Focus on relaxation, circulation, visible lift, and lymphatic flow.
Step 6: Lymphatic Cryo Massage
Tools: Frioz Ice Globes + Baby Frioz Ice Globes
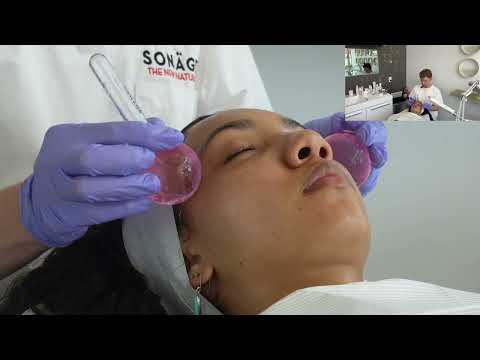
Using Frioz Ice Globes, begin with gentle lymphatic movements over the neck, jawline, cheeks, and forehead.
Use Baby Frioz Ice Globes for smaller areas such as under the eyes, around the brow bone, and along the sides of the nose.
Suggested cryo flow:
-
Start at the neck with downward strokes to encourage drainage.
-
Glide from the center of the chin toward the ears.
-
Sweep from the nose outward across the cheeks.
-
Move from the inner under-eye area outward using Baby Frioz Ice Globes.
-
Roll upward along the forehead and outward toward the temples.
-
Finish with gentle downward drainage along the sides of the neck.
🧖 Use light pressure. Keep the globes moving continuously. Avoid placing frozen tools directly on one area for too long.
Step 7: Brightening Treatment Mask
Product: Saffron Energizing Vitamin Mask
Tool: Vegan Bristle Mask Brush
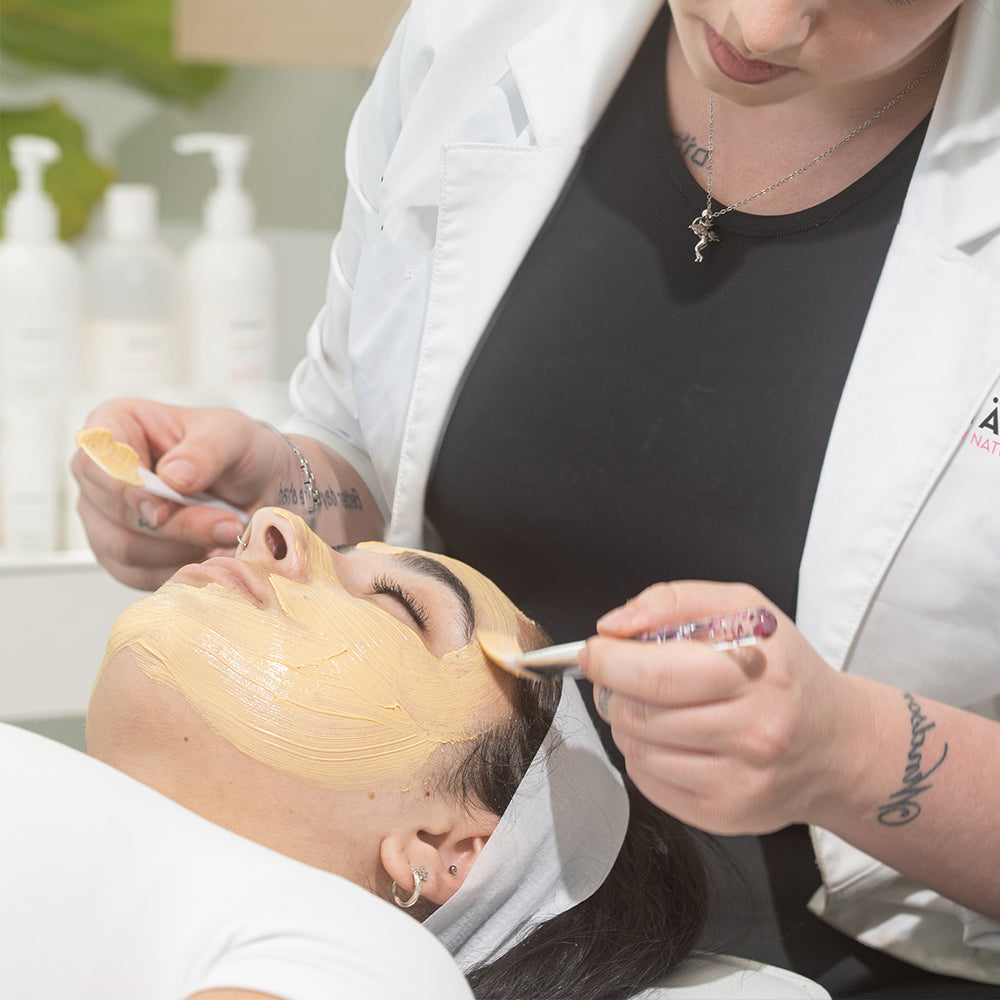
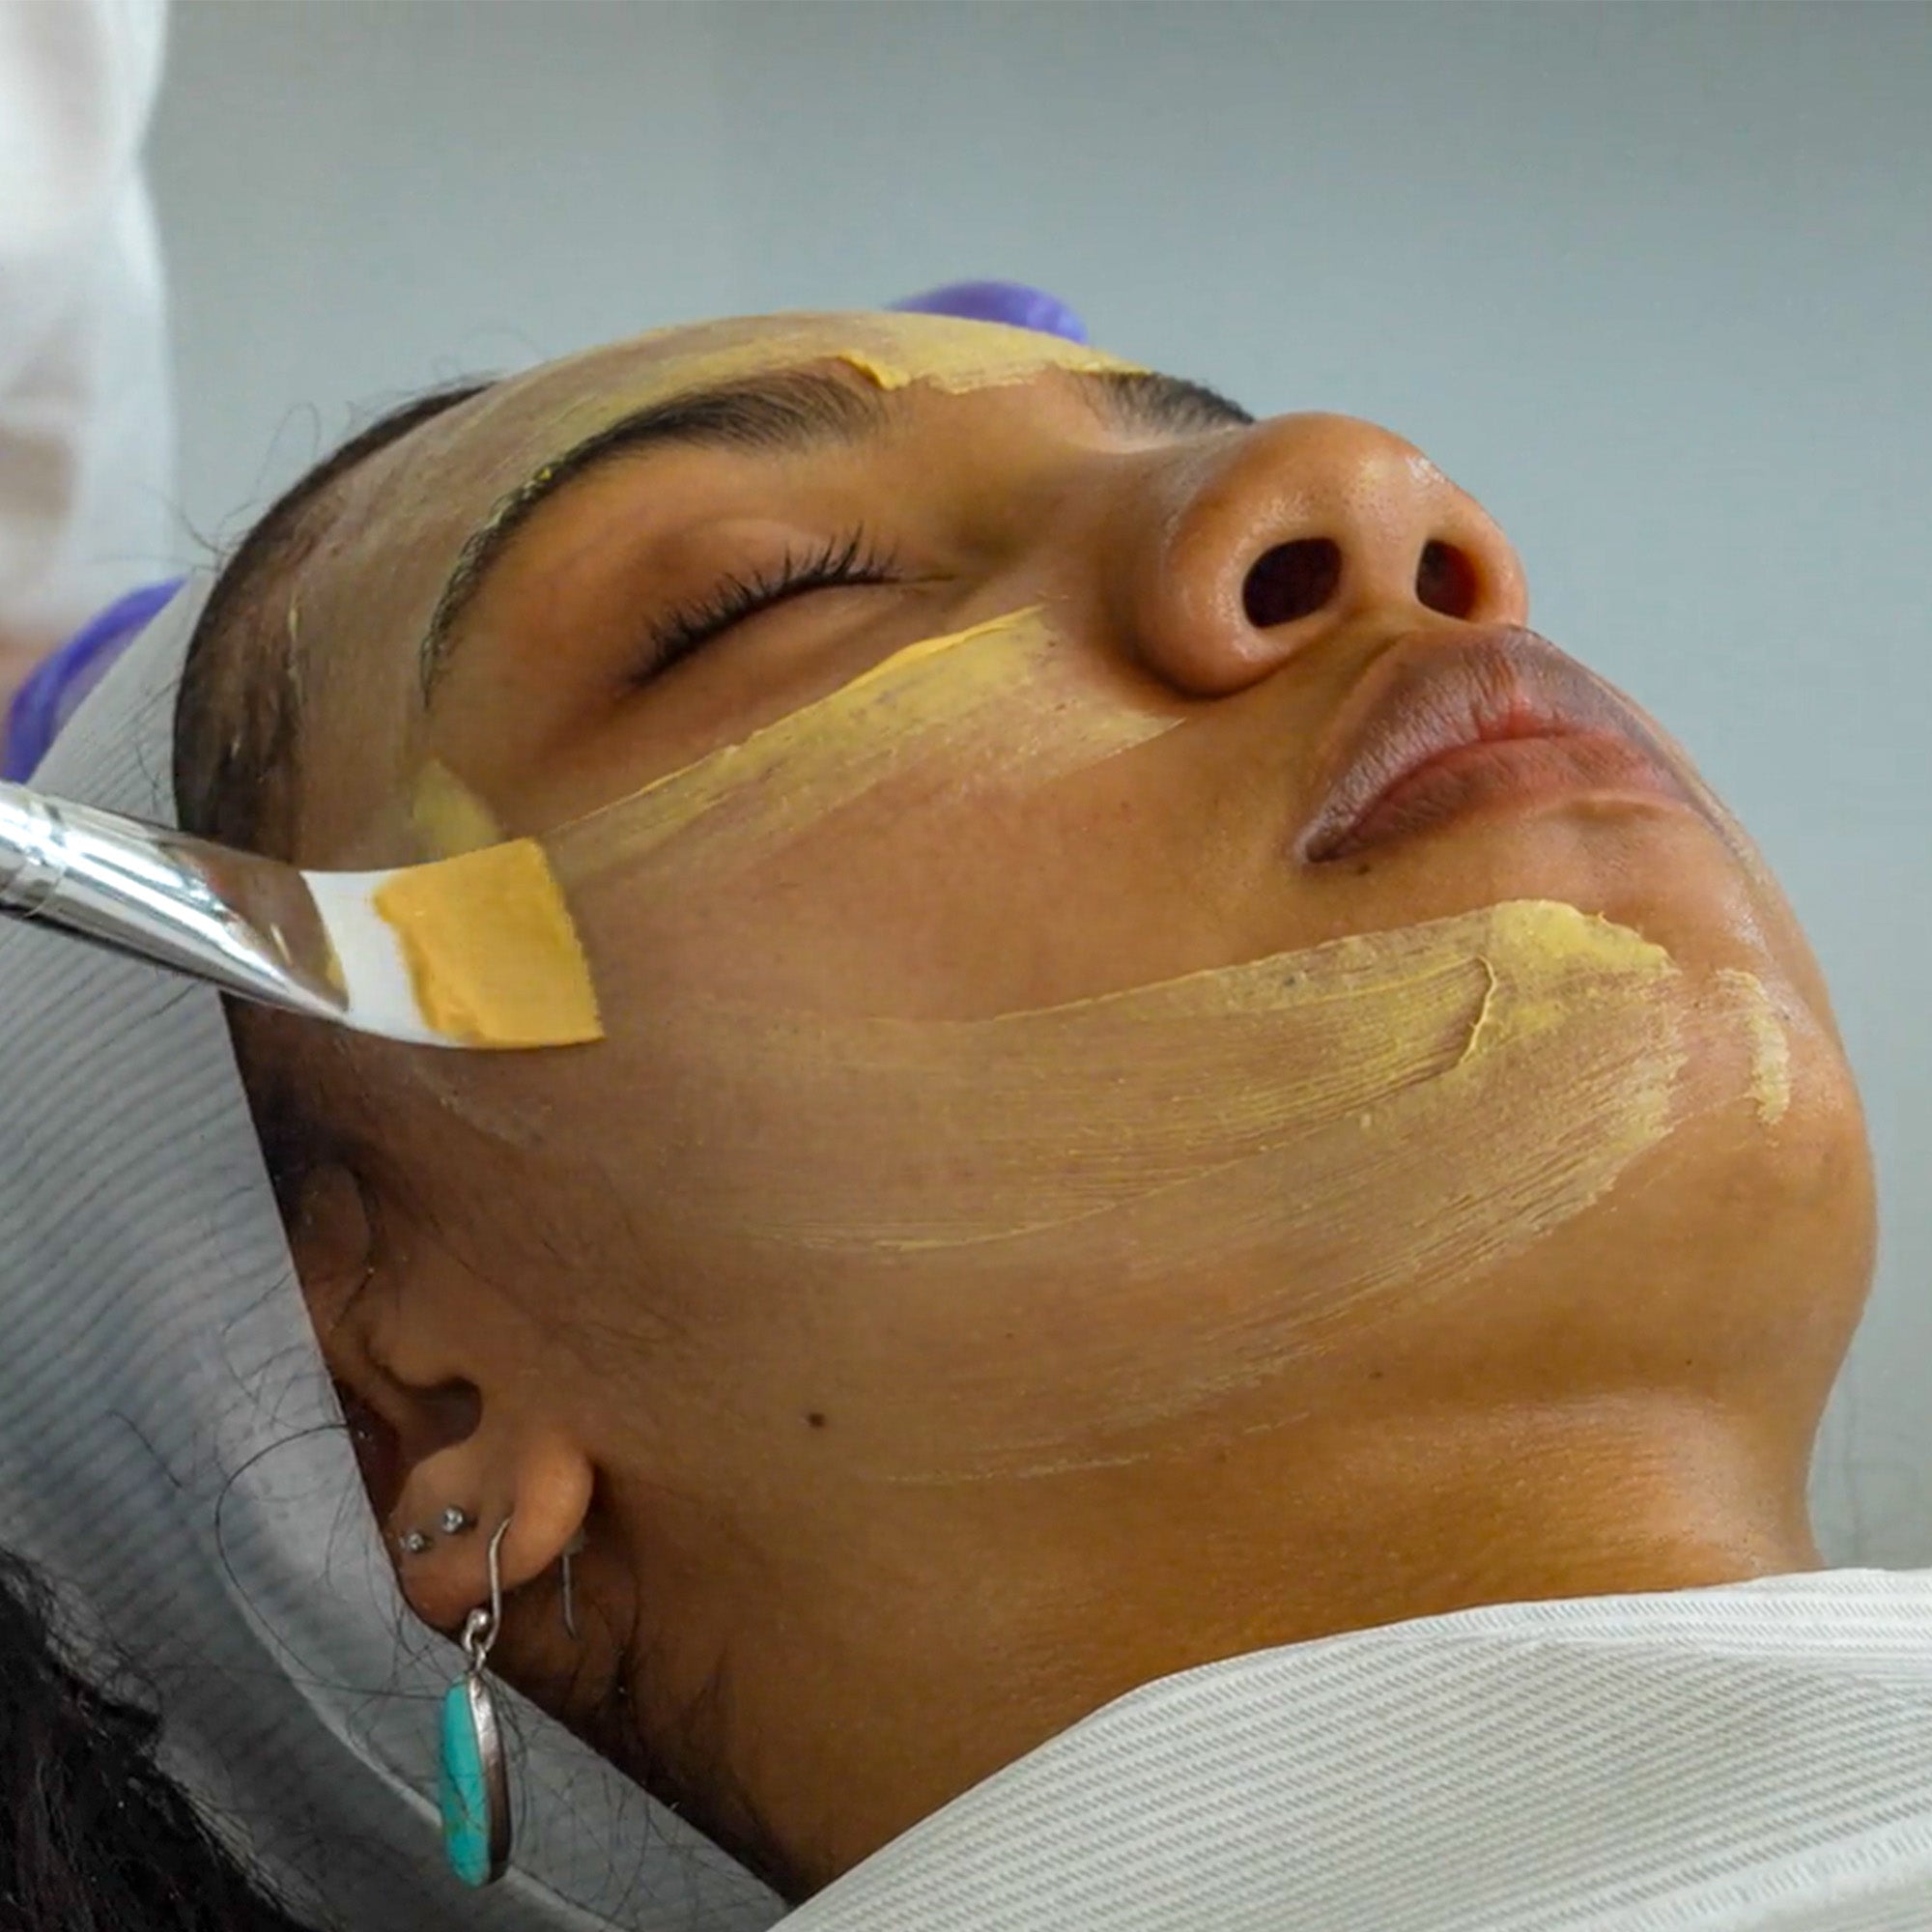
Using the vegan bristle mask brush, apply an even layer of Saffron Mask over the face, neck, and décolleté, avoiding the eye area.
Allow the mask to sit while the client relaxes.
Suggested Timing:
10–15 minutes, depending on skin type and sensitivity. Remove thoroughly with warm towels or damp esthetic sponges.
🧖Apply the mask with smooth, even brush strokes to create a luxurious, spa-like visual for the client and for training content.
Step 8: Restore The Eye Area
Product: Luster Eye Crème
After mask removal, apply a small amount of Luster Eye Crème around the orbital bone using gentle tapping motions. Avoid applying too close to the lash line.
Press lightly with ring fingers until absorbed.
🧖This step helps nourish, soften, and refresh the delicate eye area before final protection.
Step 9: Protect
Product: Roux Tinted Day Creme SPF 30
Apply Roux Tinted Day Creme SPF 30 evenly to the face, neck, and décolleté as the final step.
🧖 Always finish daytime facials with SPF to help protect freshly treated skin from UV exposure.
Choose options